House Grail is reader-supported. When you buy via links on our site, we may earn an affiliate commission at no cost to you. Learn more.
How to Make a Dust Bag for a Miter Saw (Quick & Easy 5 Steps)
Pete Ortiz
Last updated:
The more you use your miter saw, the more dust you’re going to create. It’s not just a problem when it comes to appearance. That dust can clog tools – including tools you’re not using – and is a health hazard. Let’s face it, the dust collection systems that come with most miter saws range from being merely mediocre to downright awful. In fact, most toolmakers just tell you to hook your shop vac to the back of your saw and handle it that way.
If you don’t own a shop vac or don’t want the hassle of hooking it up whenever you want to use your saw, one option is to make your own dust bag. It’s pretty simple and doesn’t require a lot of materials.
How to Make a Miter Saw Dust Bag: 5 Guided Steps
1. Gather your materials
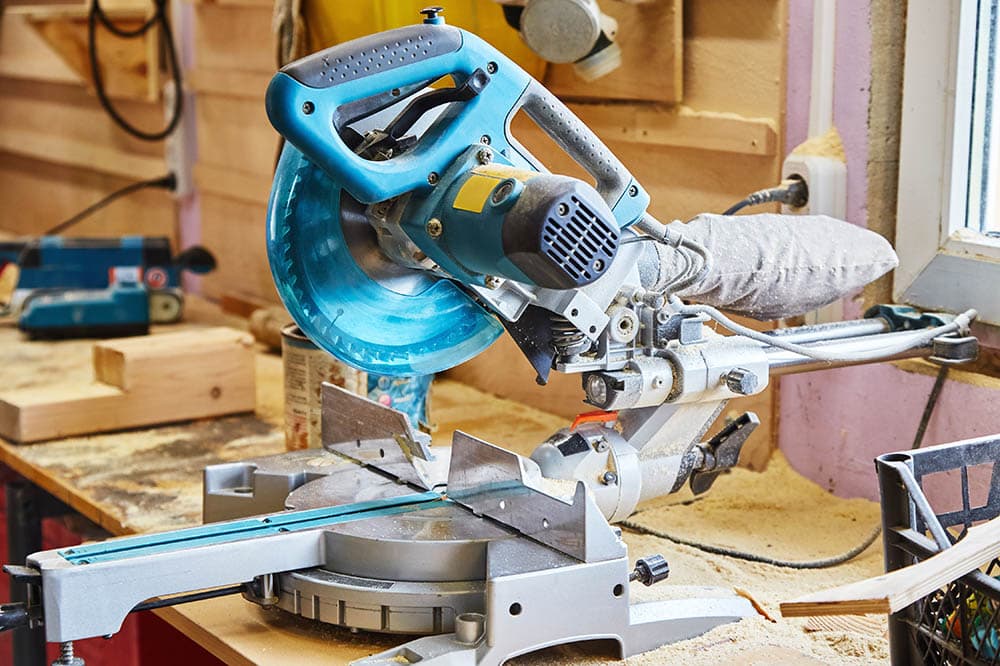
Image By: Carlo Toffolo, Shutterstock
The first thing you’ll want is a piece of plastic tubing that’s large enough to fit the dust vent on the back of your miter saw. You can either get the measurement from your owner’s manual or just pick a tube yourself. When you find one, try placing it around the dust vent. You want it snug enough that it won’t come loose while you’re using the saw, but you don’t want it so tight that it’s difficult to remove when you need to empty it.
You’ll also want some kind of bag to place on the end of the plastic tubing. The best materials are synthetics because you’re filling it with sawdust. The bag should be big enough that it won’t fill all the time, but small enough that it won’t get in the way. Also, look for one with a zipper on it. You’ll need this to empty the bag once it gets half full.
From there, get materials to connect the two. We’d recommend a zip tie and industrial-strength glue. You might also want to get a needle and thread.
2. Prepping the plastic tube
Plastic tubing (Image: Paul Goyette, Wikimedia Commons CC BY-SA 2.0)
There isn’t any specific length you need to make the plastic that will connect to the dust vent. If you want the dust to get deposited in the bag that’s out of the way, you can make it a little longer. Remember that it won’t blow out the back of your saw with any real power, so it’s a good idea to keep it pretty short.
Cut the tube to length, leaving a couple of inches at the end.
3. Now the bag
Take the bag and cut the end opposite the zipper. Cut it just long enough that it’ll fit over the opening of the tube. If you cut too much, you can use the needle and thread to sew the excess back together. You can follow that up with the industrial-strength glue to keep the seam sealed shut.
Fit the bag over the back end of the plastic tube and pull it so that it gives a couple of inches of clearance. This extra space will prevent sawdust from getting blown into where the bag and tube are connected, which doesn’t just make a mess, but could reduce the operational life of your cobbled-together dust collection system.
4. Put it all together
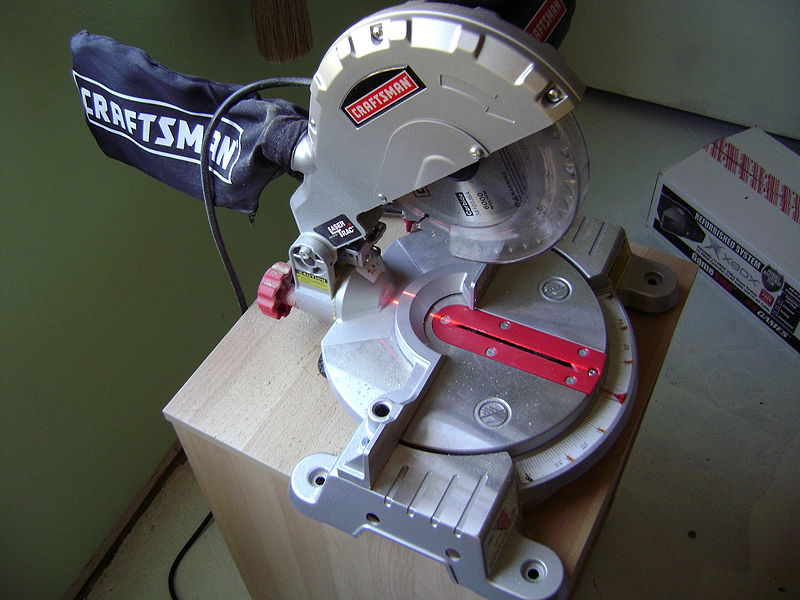
miter saw with dust bag (Image: Ewen Roberts, Wikimedia Commons CC BY 2.0)
Smear industrial-strength glue around where the bag covers the plastic tube. It’s a good idea if you give this an inch or two for additional strength. On the outside, you can cinch the two together with a zip tie pulled tightly enough to create a strong seal, but not tightly enough to crimp the tube. If you managed to connect the bag and tube by an inch or two, you can use more than one zip tie.
5. Trial run
It’s a good idea to give your dust collection bag a trial run, so you can correct any deficiencies in your work before you really give it a good workout. Cut some wood to see how it does at collecting dust. If the dust isn’t making it to the bag, try trimming down the tube a little more. When it gets half full, empty it by unzipping the end opposite where the bag covers the tube.
Other ideas
If, after doing this, you decide that a bag just isn’t enough, there are lots of ideas for alternatives. A popular one is to build a dust collection hood to go behind your miter saw. But, first, try out the bag to see if that’s better. Simpler is usually best.
Pete has been working in the trades since high school, where he first developed a passion for woodworking. Over the years, he has developed a keen interest in a wide variety of DIY projects around the home. Fascinated by all sort of tools, Pete loves reading and writing about all the latest gadgets and accessories that hit the market. His other interests include astronomy, hiking, and fishing.
As the founder of House Grail, Pete's primary goal is to help consumers make educated decisions about DIY projects at home, in the garage, and in the garden.